- Home
- Learn Linux
- Learn Electronics
- Raspberry Pi
- Programming
- Projects
- LPI certification
- News & Reviews

Google Ads
When designing electronic circuits I will often start with a prototype using a breadboard. This can be useful for any electronics projects, but particularly those that interact with a microcontrollers and single-board computers such as the Raspberry Pi.
One of the difficulties, especially when using a Raspberry Pi, is making sure the wires don't get disconnected between the breadboard and the GPIO pins of the Raspberry Pi. It is therefore useful to mount them together so that the wires don't get pulled out by mistake. You can buy some mounts, or you could attach the breadboard and Raspberry Pi to a piece of wood, but I prefer to design my own standards which allow for the devices to be kept together.
These are some of the designs that I have created which you can 3D print for your own projects. To learn how I made them see my guide to designing an electronics breadboard stand for an electronics workbench.
When creating electronic circuits it's useful to test circuits using a broadboad. During this it's often useful to connect the circuit to a bench power supply and perhaps a multimeter. These often use 4mm banana plugs for connecting to circuits. This is where a workbench breadboard can come in handy.
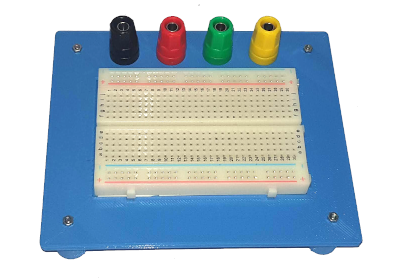
This breadboard stand is useful for Raspberry Pi Pico projects as well, as the Pico can be mounted directly onto the breadboard.
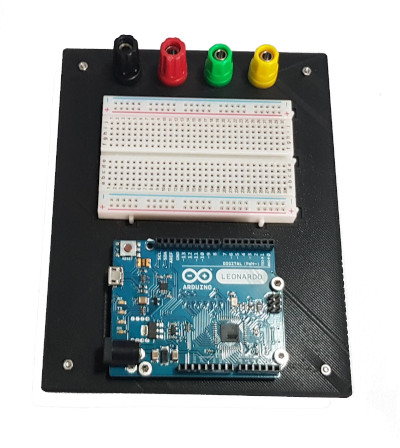
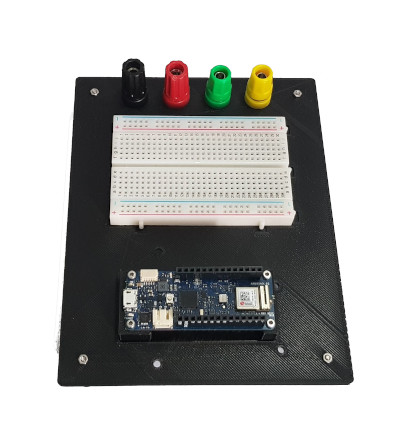
This is my first design which included additional space for mounting an Arduino. The design is for an Arduino UNO, but there is also a separate bracket which can be used to mount an Arduino MKR series (eg. Arduino MKR WiFi 1010). The additional mount allows for the long pins that are often used. This is shown in the image below.
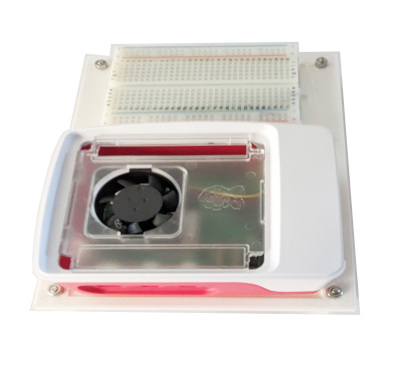
This design is specifically for the Raspberry Pi 5, although may work with other models of the Raspberry Pi. The board allows for a Raspberry Pi 5 to be installed within the official Raspberry Pi case (with indentations included for the feet), or as a bare board with M2.5 PCB mounts. Note that you may need an active cooler for the Raspberry Pi 5. It is recommended to use either the one in the standard case of the official active cooler, both of which still allow full access to the GPIO pins.
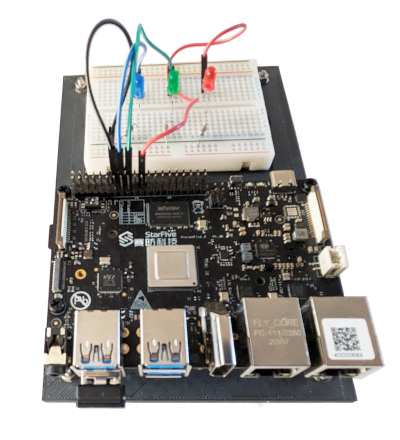
Another breadboard stand I have created is for the StarFive VisionFive 2 board. This is a single-board computer, alternative to the Raspberry Pi. The VisionFive 2 is a large Risc-V based board which includes dual ethernet outputs as well as a PCI express connector on board.
Most of the ports for the StarFive VisionFive 2 are on one side of the board which is positioned so that they facing away from the breadboard, however the power connector is on the oppisite site. Assuming appropriate PCB mounts are used then the USB-C power cable goes over the breadboard. This means that some parts of the breadboard are difficult to access. You could use a right-angled USB-C power cable, or I believe it should be possible to power the board from the GPIO pins instead. The other alternative would have been to make the breadboard stand wider with the electronics breadboard offset.
There are more guides to creating 3D models and use of a 3D printer at PenguinTutor 3D design and 3D print projects
Also see:
To find out about the updates please:
Subscribe to the PenguinTutor YouTube Channel
and
Follow @penguintutor on Twitter
Please view the copyright information regarding use of the circuits.

